
Have you ever gazed at a photograph and felt transported to another world, where sunlight dances through leaves and creates an ethereal glow? This enchanting effect often comes from lens flares, specifically the captivating Photeeq lens flare. These magical bursts of light can transform ordinary images into dreamy landscapes that evoke emotion and inspire wonder.
In today’s digital age, photography is not just about capturing a moment; it’s about crafting a mood. The right lens flare can add depth and intrigue to your shots, enhancing their visual storytelling. Whether you’re shooting nature scenes or urban settings, mastering the art of Photeeq lens flare will elevate your photography game. So grab your camera and let’s dive into the vibrant realm of lens flares!
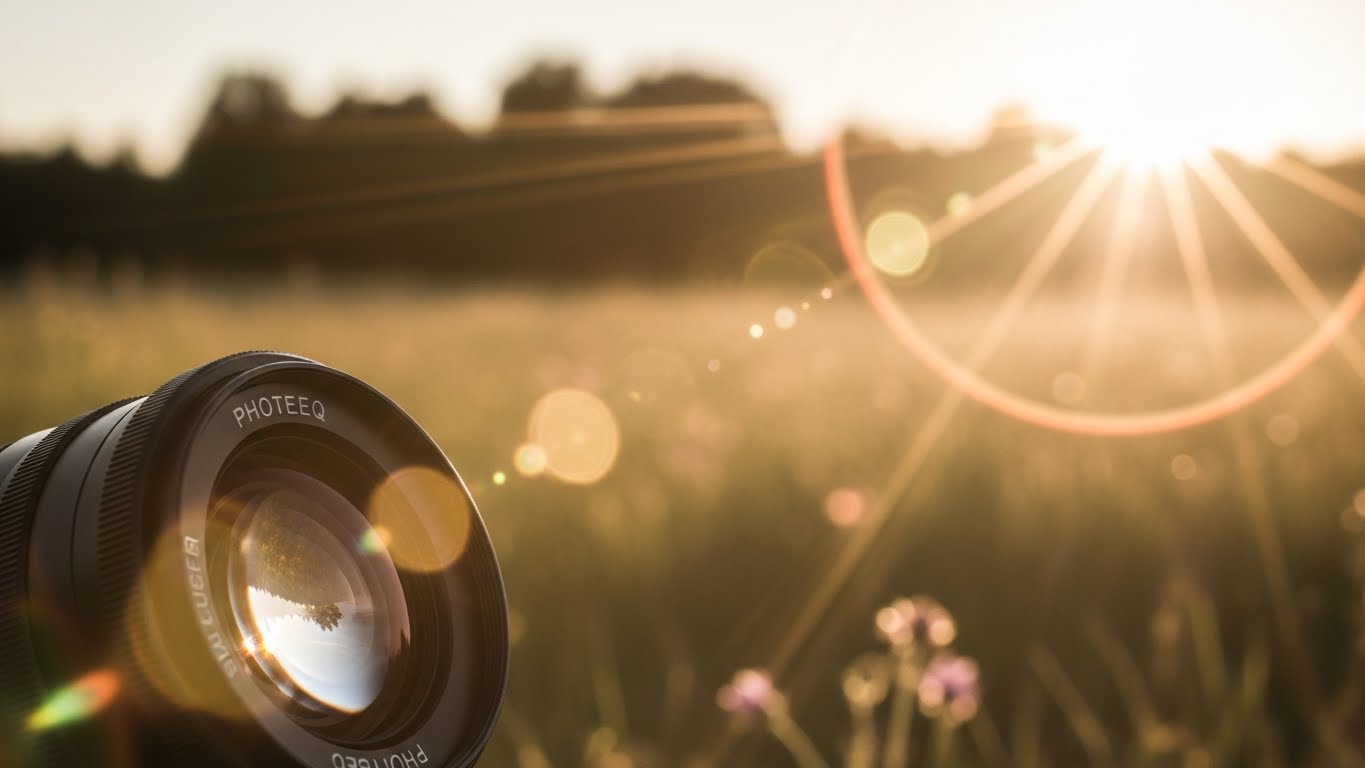
What is Photeeq lens flare?
Photeeq lens flare is a digital photography effect that adds artistic flair to images. It mimics the natural phenomenon of light scattering through camera lenses, resulting in vibrant bursts of color and luminous shapes.
This effect transforms ordinary scenes into captivating visuals. Photographers often use it to evoke emotion and create an ethereal quality in their work.
With Photeeq lens flare, you can enhance your photos by introducing warmth or drama. The soft halos and radiant streaks bring depth to landscapes or portraits, making them more engaging.
Whether you’re shooting during golden hour or experimenting with backlighting, this tool helps elevate your creative vision. It’s perfect for both amateur enthusiasts and seasoned professionals looking to add that extra touch of magic to their images.
Understanding the different types of lens flares
Lens flares come in various styles, each with its own character. Understanding these types can significantly enhance your photography.
The classic lens flare is often circular and appears as a bright spot of light. It usually occurs when sunlight hits the lens at an angle. This kind creates a dreamy effect that’s popular in landscape shots.
Another type is the streak or line flare. This happens when light sources create elongated beams across your image. They add drama and movement to still photos, perfect for urban scenes.
You might encounter ghosting flares too, which manifest as repeated images of bright spots around the frame. These can evoke nostalgia and make images feel more cinematic.
Colored flares introduce hues—think blues, pinks, or greens—that infuse vibrancy into your work. Experimenting with these different types can lead to unique visual stories in every shot you take.
Tips for achieving the perfect lens flare in your photos
To achieve the perfect lens flare, start by considering your light source. Position it strategically behind or to the side of your subject for a more dynamic effect.
Experiment with different angles. A slight shift can drastically change how the flare interacts with your frame. Don’t be afraid to move around until you find that sweet spot.
Use a wide aperture setting. This allows more light to enter and creates softer, dreamy flares that add depth without overpowering your image.
Keep an eye on reflections too. Sometimes, unintended bokeh can yield stunning results when combined with deliberate lens flares.
Don’t shy away from experimenting during golden hour—those warm tones naturally enhance any flare effect in your photos.
Utilizing lens flares to enhance atmosphere and mood in your photos
Lens flares can transform an ordinary photo into a work of art. They add depth and intrigue, creating a unique atmosphere that draws the viewer in.
When placed strategically, lens flares evoke emotions. A warm flare can suggest nostalgia or comfort, while cooler tones might impart mystery or tension. Experimenting with different placements allows you to shape the mood of your image significantly.
Consider the lighting conditions when shooting. Early morning or late afternoon light often produces softer flares that enhance warmth and vibrancy. Conversely, midday sun may create harsher contrasts but can also deliver striking effects if managed well.
Using lens flares as compositional elements helps guide the eye through the photograph. Position them near focal points for added emphasis without overwhelming other details. This balance is key to maintaining harmony within your artwork.
Editing techniques for enhancing and manipulating lens flares
Editing lens flares can take your photos from ordinary to extraordinary. Start by using software like Adobe Photoshop or Lightroom. These tools offer great flexibility in adjusting the intensity and color of lens flares.
Consider blending modes for your layers. Overlay or soft light can create subtle yet impactful effects that add depth without overwhelming the image. Adjusting opacity also allows you to control how prominent the flare appears.
Don’t hesitate to play with masks. They allow you to selectively apply flares, ensuring they enhance rather than detract from other elements in your photo.
Experiment with different colors too; this can change the entire mood of an image instantly. A warm golden hue evokes nostalgia, while cooler tones bring a modern feel.
Filter options provide unique textures and styles for your lens flare, giving each shot its own character and atmosphere.
Common mistakes to avoid when using lens flares
One of the most common mistakes photographers make with lens flares is overdoing it. A little flare can add magic, but too much can overwhelm the image. Balance is key.
Another pitfall is neglecting the source of light. Ensure your flare complements the natural direction and intensity of existing light in your scene. This harmony creates a more believable effect.
Using lens flares indiscriminately across every shot can also diminish their impact. Reserve them for moments that truly call for extra drama or emotion to keep each use special.
Furthermore, failing to consider composition often leads to awkward placements that distract rather than enhance. Think about how the flare interacts with other elements in your frame.
Don’t forget about post-processing adjustments. Ignoring color grading or exposure corrections after adding a flare may leave your images looking flat or poorly integrated.
Real-life examples of Photeeq lens flare in action
Photographers often turn to the Photeeq lens flare for that extra touch of magic. It transforms ordinary landscapes into breathtaking visuals.
Take a sunset beach scene, for instance. The sun dips below the horizon, casting warm hues across the sky. Adding a gentle lens flare creates an ethereal glow that highlights the tranquil waves and soft sand.
In urban photography, capturing cityscapes at golden hour can be equally stunning. A well-placed lens flare can mimic reflections off skyscrapers, infusing energy into an otherwise static image.
Weddings also benefit from this technique. When shooting outdoor ceremonies against a bright backdrop, subtle flares add romance and warmth, enhancing emotional moments between couples.
These examples showcase how versatile Photeeq lens flare truly is. Whether you’re aiming for dreamy or dramatic effects, it opens up endless creative possibilities in your photography toolkit.
Conclusion
The Photeeq lens flare is more than just a visual effect; it’s a powerful tool for photographers and digital artists. By understanding its different types, you can choose the perfect flare to complement your visuals. The tips shared in this article will help you capture stunning flares that enhance the overall atmosphere of your images.
With careful editing techniques, lens flares can be manipulated to create dreamy scenes or add depth to ordinary photos. Avoiding common mistakes ensures that your work remains polished and professional while still embracing creativity.
Real-life examples showcase how effective Photeeq lens flare can be in various settings, from landscapes to portrait photography. As you explore these techniques, remember that practice makes perfect. Each photo shoot is an opportunity to experiment with light and mood, ultimately leading to breathtaking results.